posts in home decor

Shop my Instagram: Bedroom Sources

September 26, 2022

 bedroom sources

Duvet cover - ours is a king in "White" 
Quilted shams - size king in "White"
Euro shams - these are the euro in "Loden"
Lumbar sham - size 12x48
Waffle blanket - I got the Full/Queen size in "Flax"
Lamps - these no longer come in black but I love the natural color. Ours are the small size. 
Bedframe - it's a king in "Talc"

New Studio McGee for Target Spring Collection

January 22, 2022

New Studio McGee for Target Collection

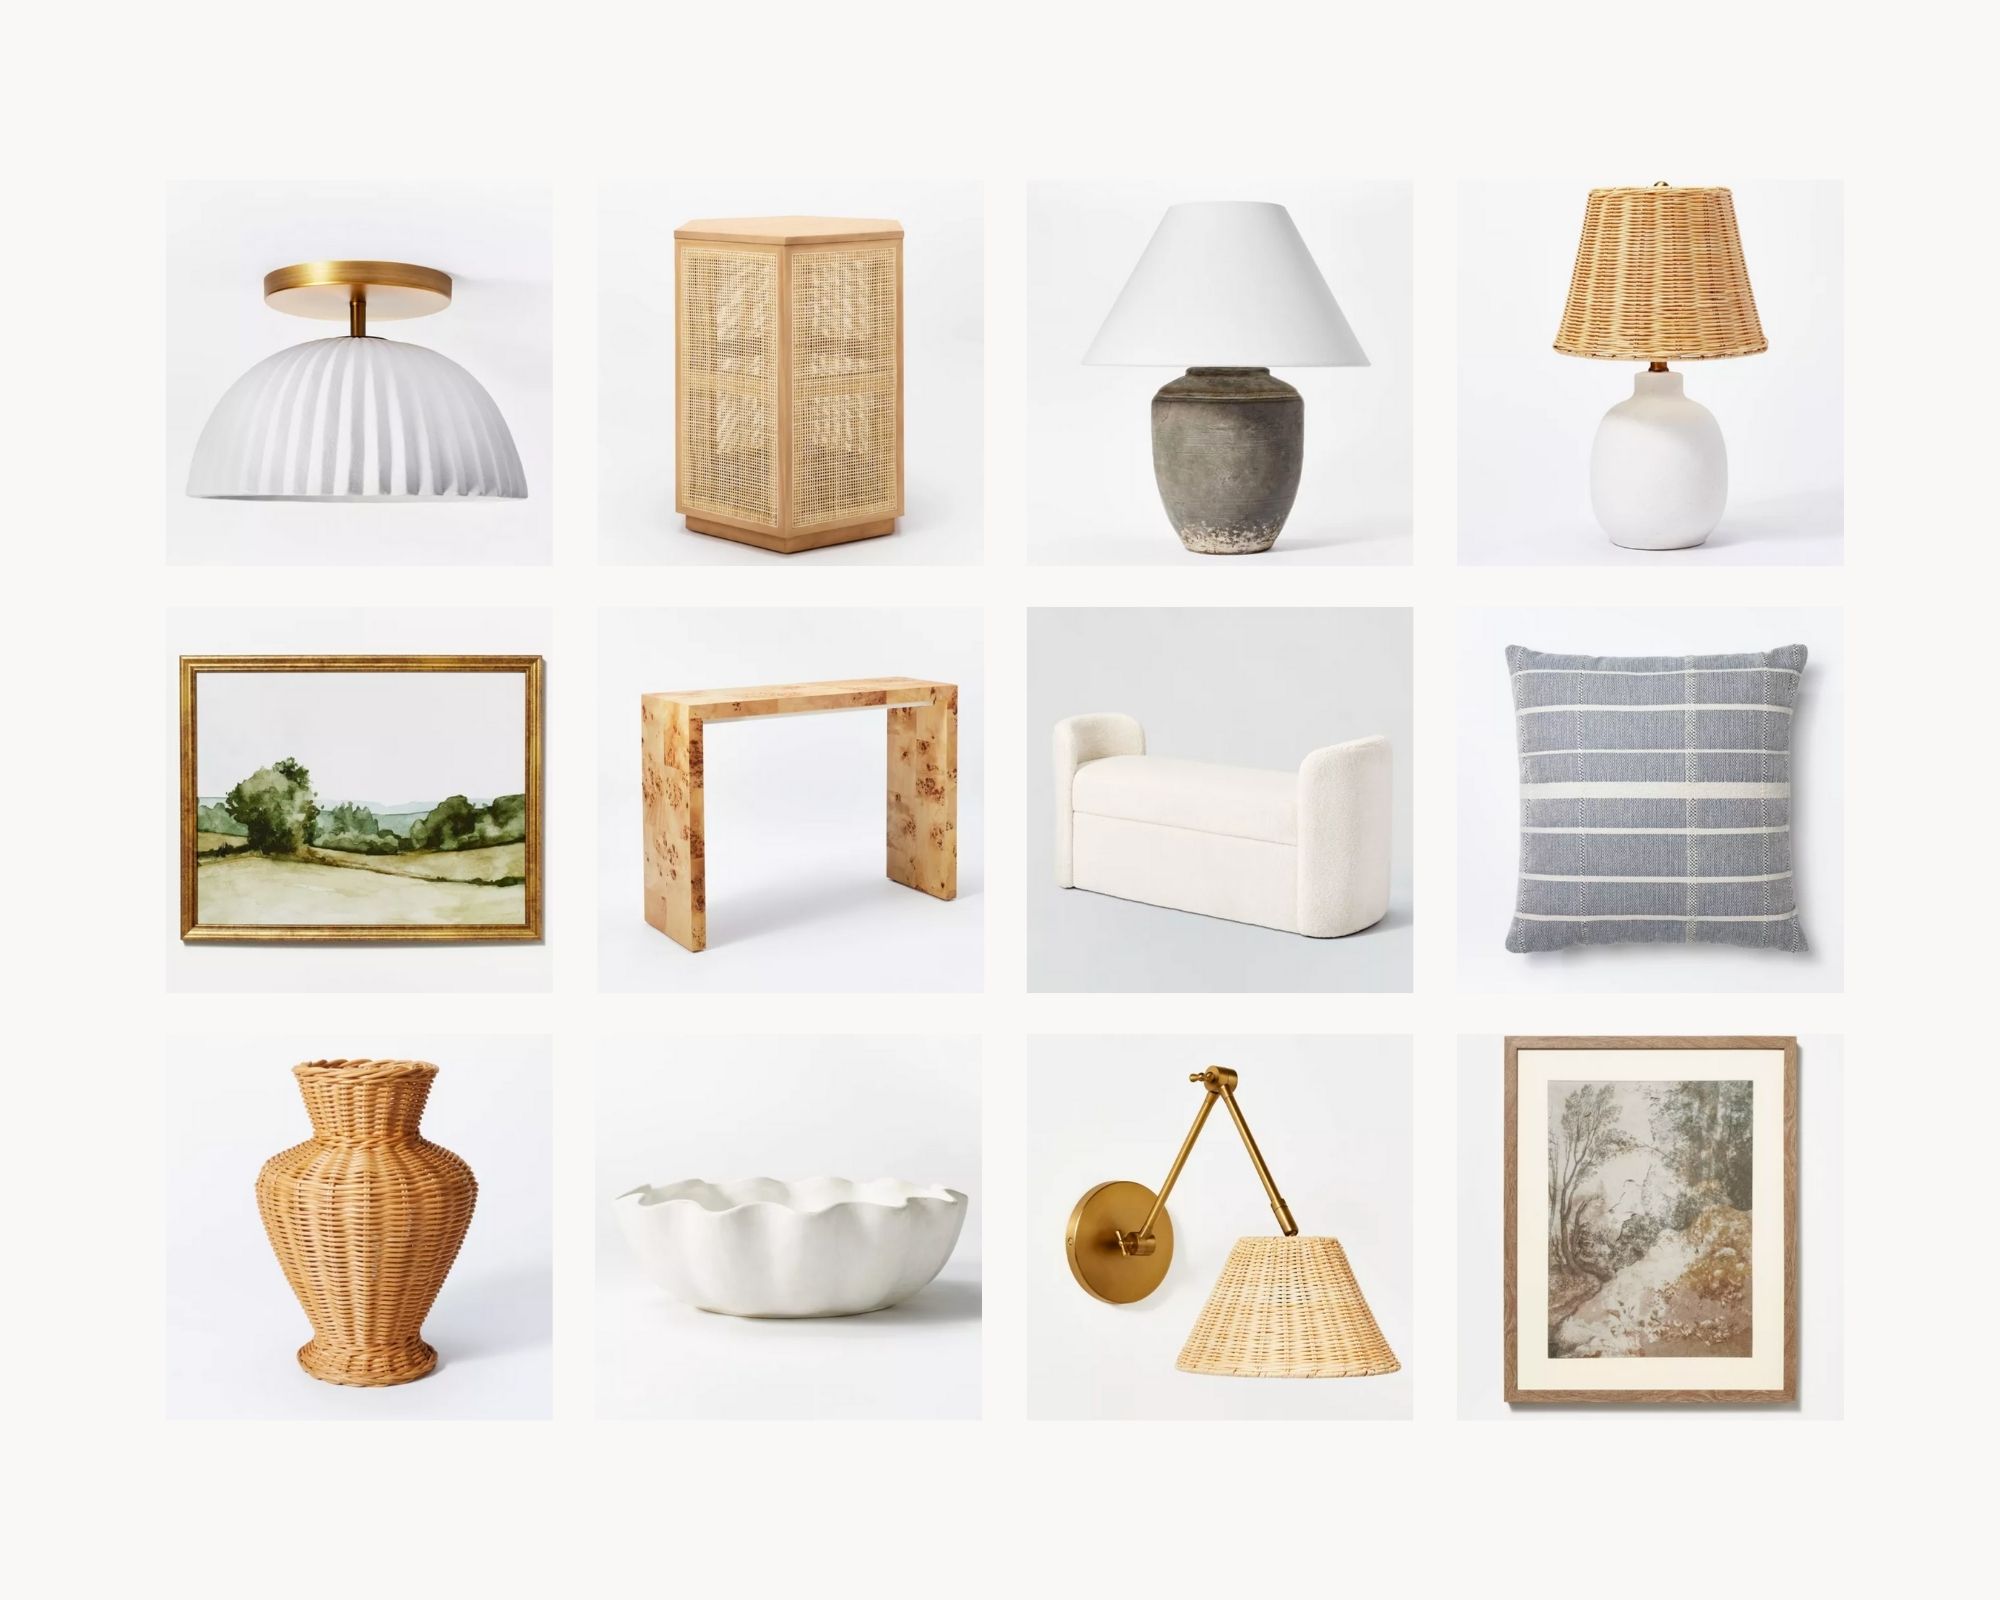
Scalloped Sconce. Rattan Sconce. Grey Ceramic Lamp. Burl Console Table. Scalloped Bowl. Sherpa Bench. Landscape Painting. Wicker Shade Lamp. Wicker Vase. Blue Striped Pillow. Fresco Poster. Cane Side Table

Happy Saturday! As I was browsing the preview of the new Studio McGee for Target collection I couldn't believe how many things I wanted. It was too good not to share, so here's a roundup of my favorites from the new collection. It launches tomorrow! I've shopped several of the previous collections and found some gems at amazing prices. Shop the full collection here

A few things are already available, like the blue striped pillow and wicker vase, so I bought those last week and love them both. All these items are the perfect way to give your home a little refresh for spring. 

Happy shopping!

Catherine 

Deck Updates + How to Build a Faux Boxwood Wall

August 12, 2019

black-and-white-deck-inspiration
This post has been along time coming but I knew it would take me a while to put together so I've been dragging my feet. That seems to be the theme of all of my posts lately, doesn't it? Oh well, that's just the season of life I'm in right now. Anyway, I am excited to finally share our finished deck with you! I was putting this post off because I wanted to take DSLR photos but my camera hasn't been working so these iPhone pics are just going to have to do. I realize it's mid-August and you're probably not looking for deck inspiration but better late than never! black-and-white-deck-inspiration
how-to-build-a-faux-boxwood-wall
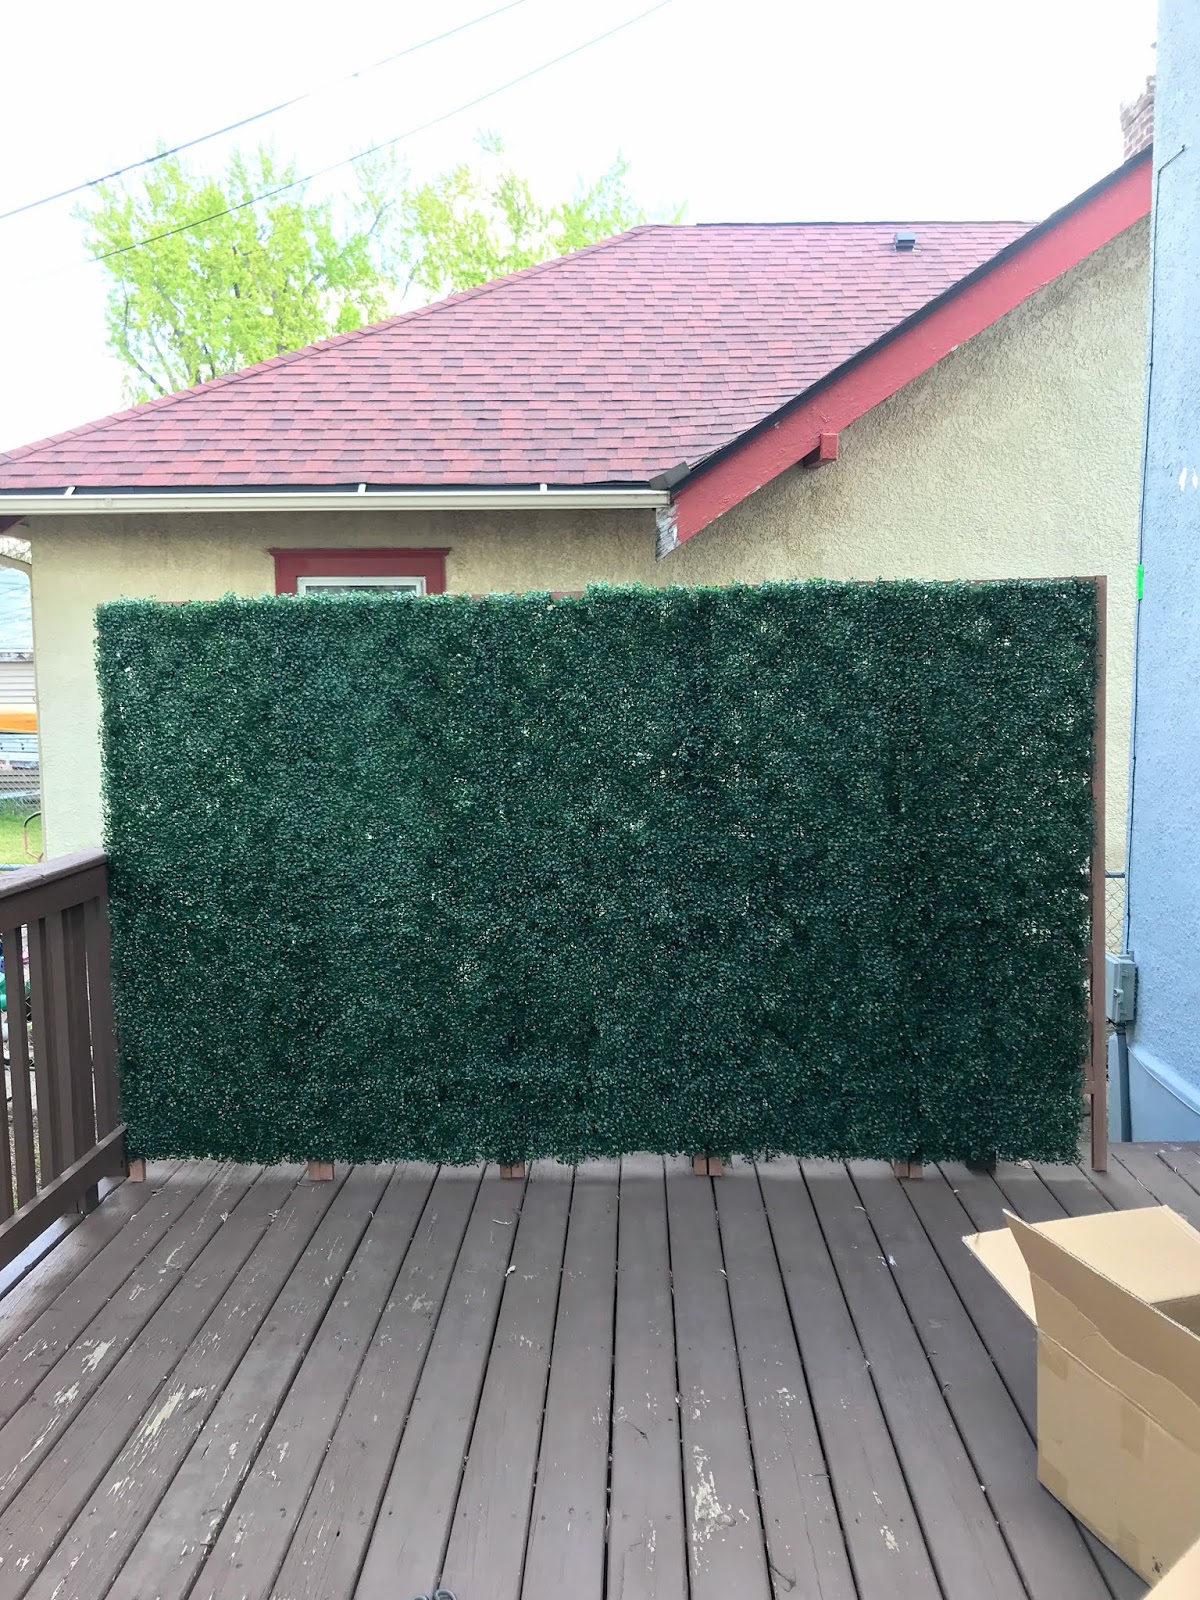
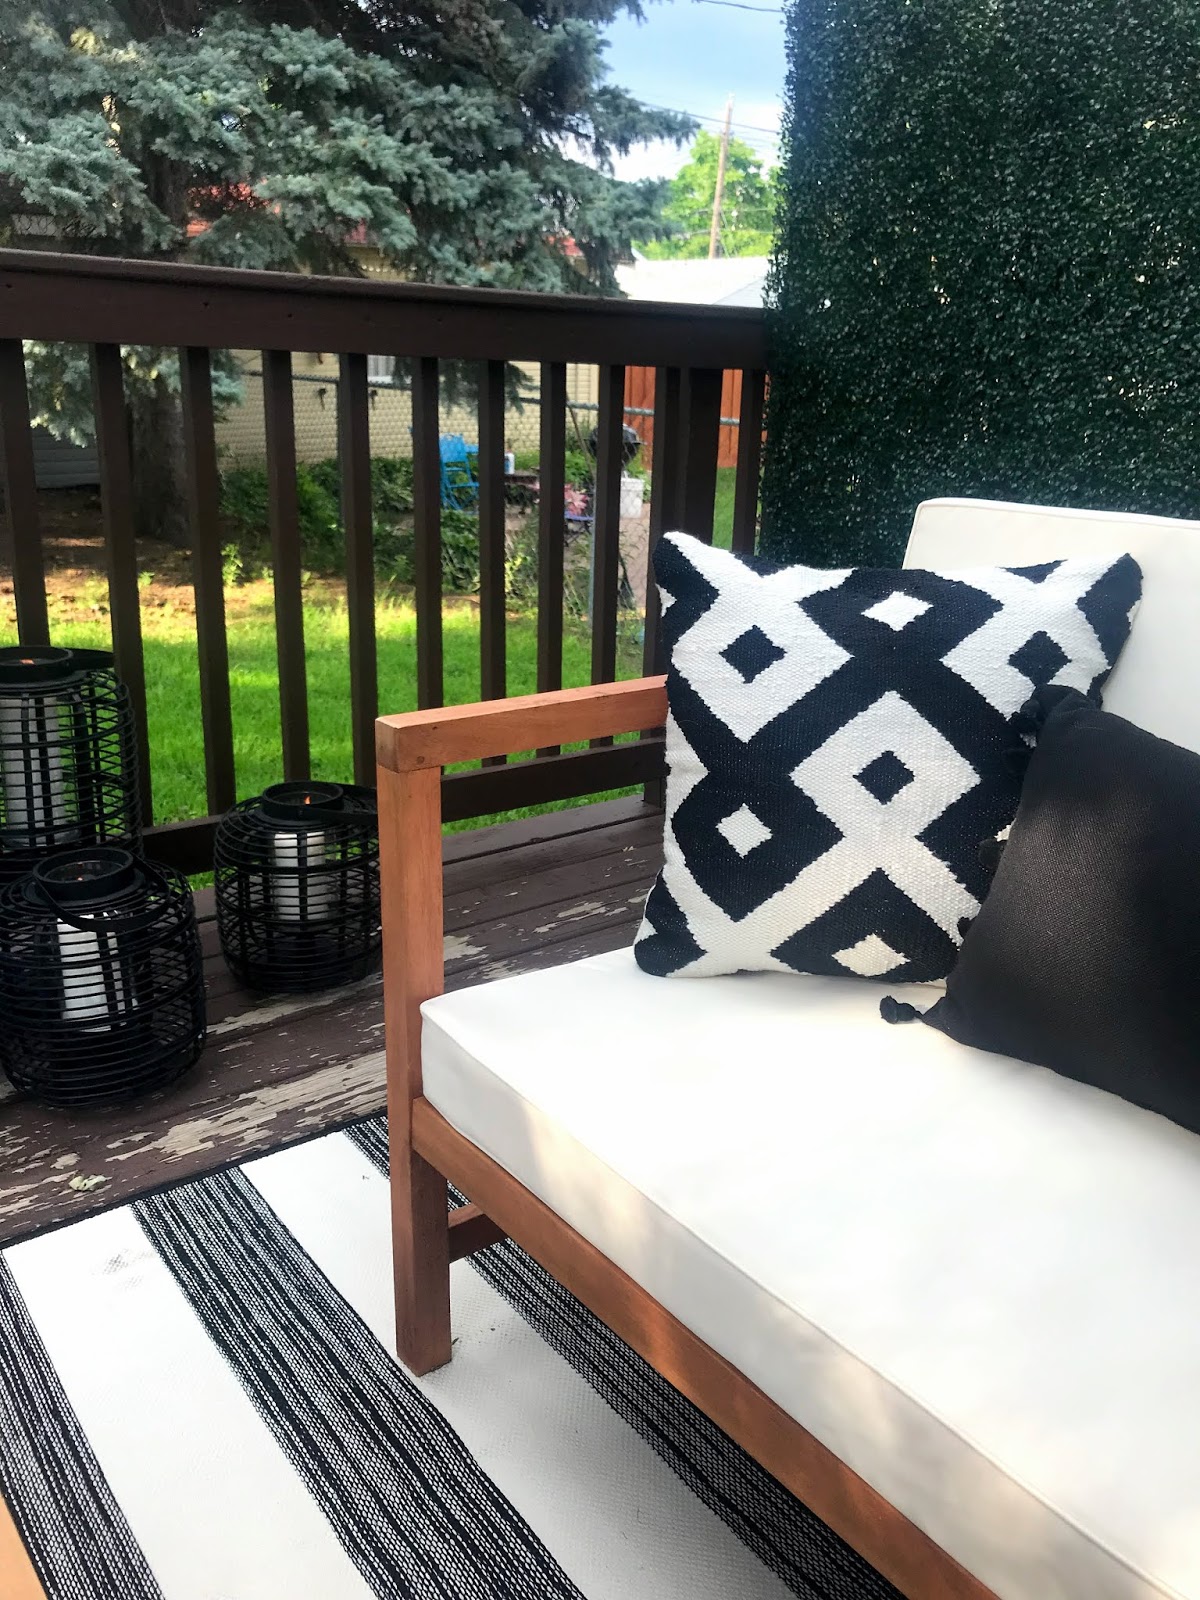
The first step was to build a faux boxwood wall. Our deck is a really nice size and I wanted to make sure we took advantage of Minnesota summer but knew that since our neighbor's house was so close we would feel uncomfortable being out there without any sort of privacy. We looked into buying a retractable option like this or planting some tall, thick plants but neither option was quite right. I then remembered that Hitha (a favorite follow!) had shared Meg's post about how to build a boxwood wall and that idea stuck. I loved the idea of something that provided privacy and would also look nice. Right around the time I was deciding to build my privacy wall Hitha had one put in in her backyard and it looks so so good! I tackled mine a little bit differently than Meg suggested because I didn't want anything permanent but her post is a great one to reference if you're planning to do something similar. 
how-to-build-a-faux-boxwood-wall
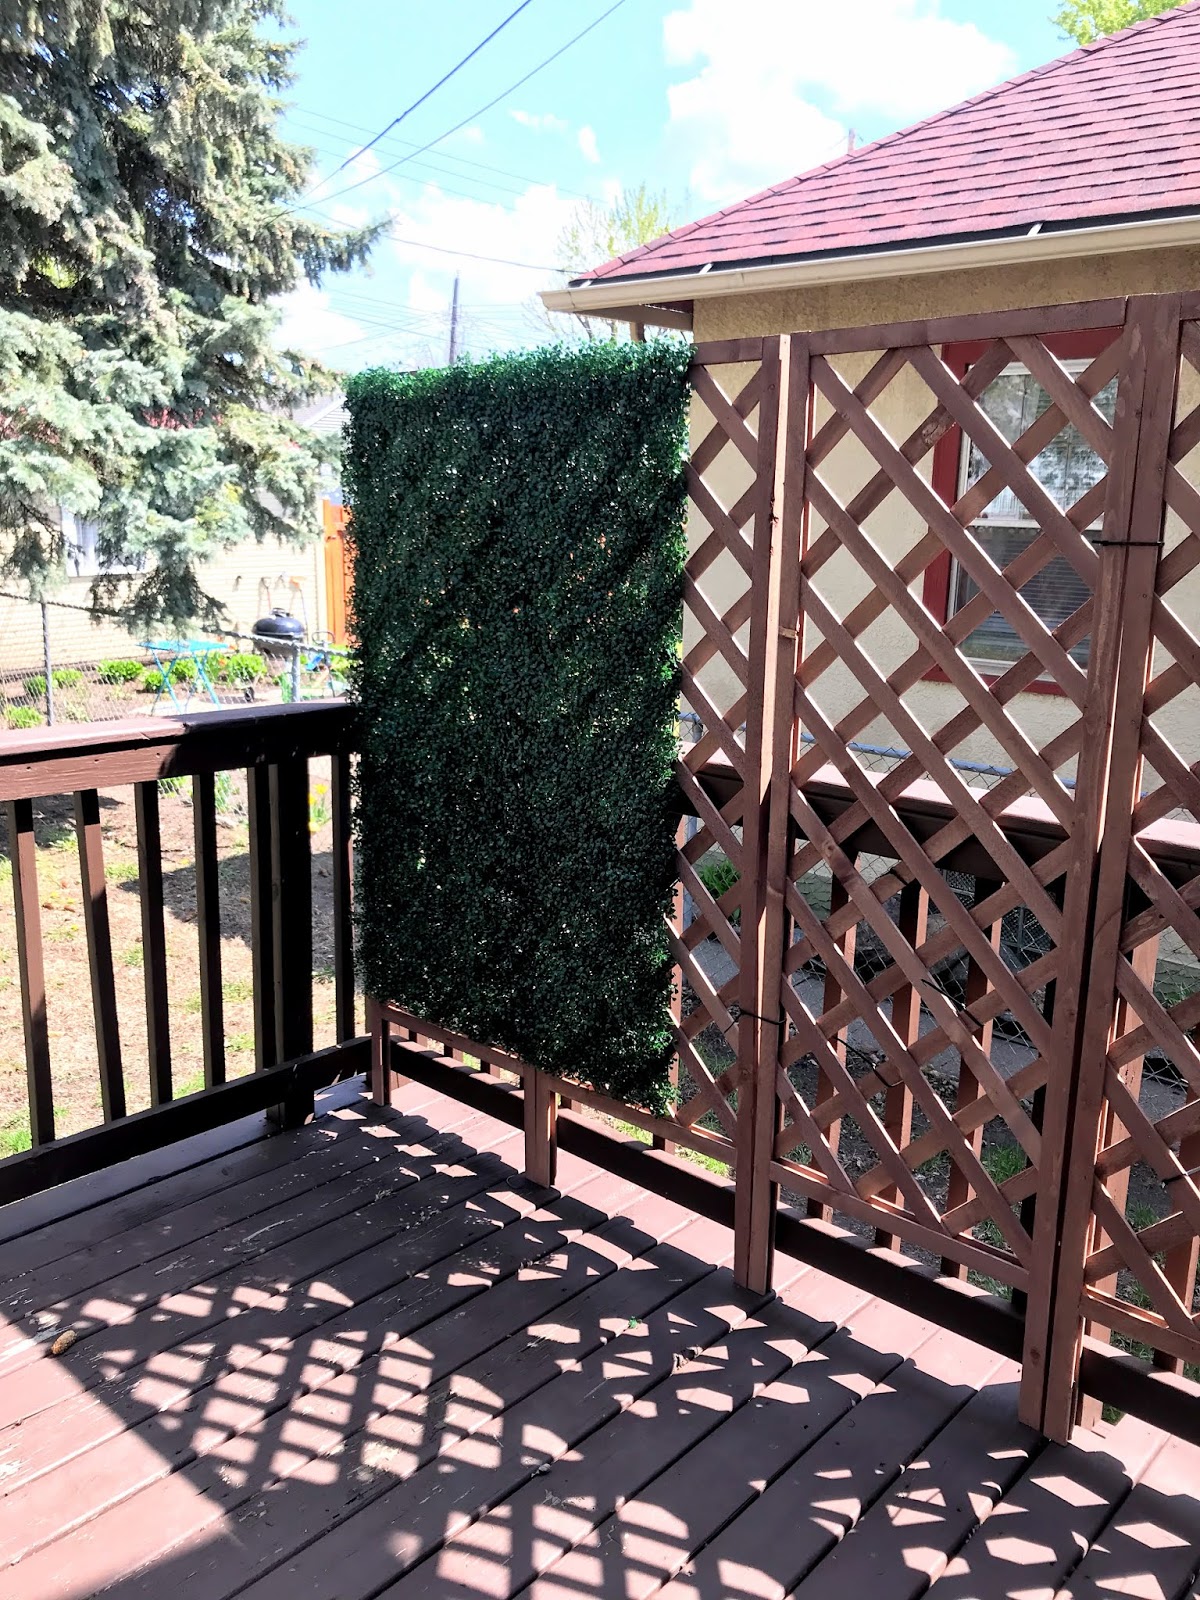
I decided to use these trellises as the base. We rent our house so I didn't want to be drilling anything into the deck so I just used a ton of zip ties. I ended up with five trellises and zip tied them together and to the deck railing. The fifth trellis went over the edge of the opening for one of the sets of stairs but I don't really care and think it looks better than having it end before the railing ends. 
how-to-build-a-faux-boxwood-wall
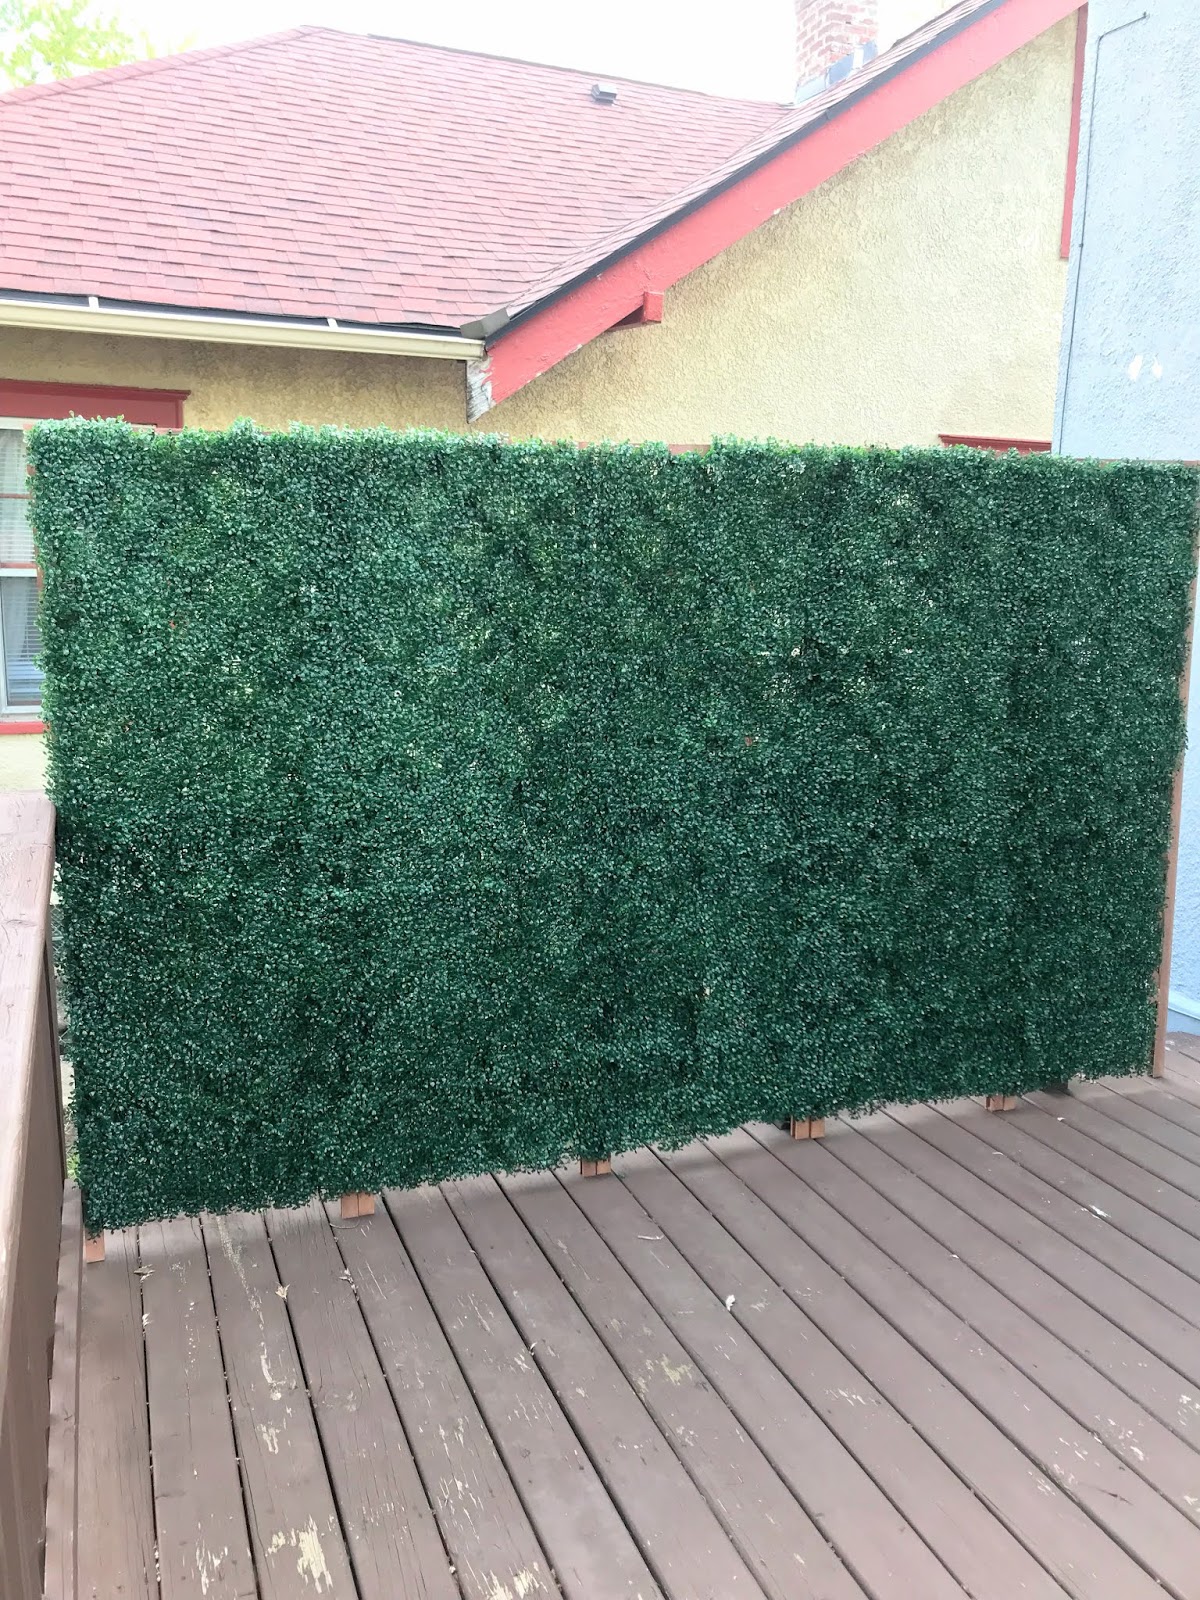
I did some searching on Amazon and these faux boxwood panels had good reviews so I bought two boxes and ended up with some left over. The worst part of the whole project was fastening the panels together and zip tying them to the trellis. They're pretty scratchy and you have to really get in there so my hands got a little scratched up. It only took a couple of hours and then voilà it was finished!

how-to-build-a-faux-boxwood-wall

how-to-build-a-faux-boxwood-wall
It didn't end up totally straight and so you can see it doesn't line up on the right side but I wasn't going to redo it so it's good enough!

how-to-build-a-faux-boxwood-wall
The wall made the biggest difference and has definitely served its purpose! I'm also happy to say it's stayed standing and still seem very sturdy even after several windy storms. Still trying to decide if we should just leave it up through the winter or not. 
black-and-white-deck-inspiration
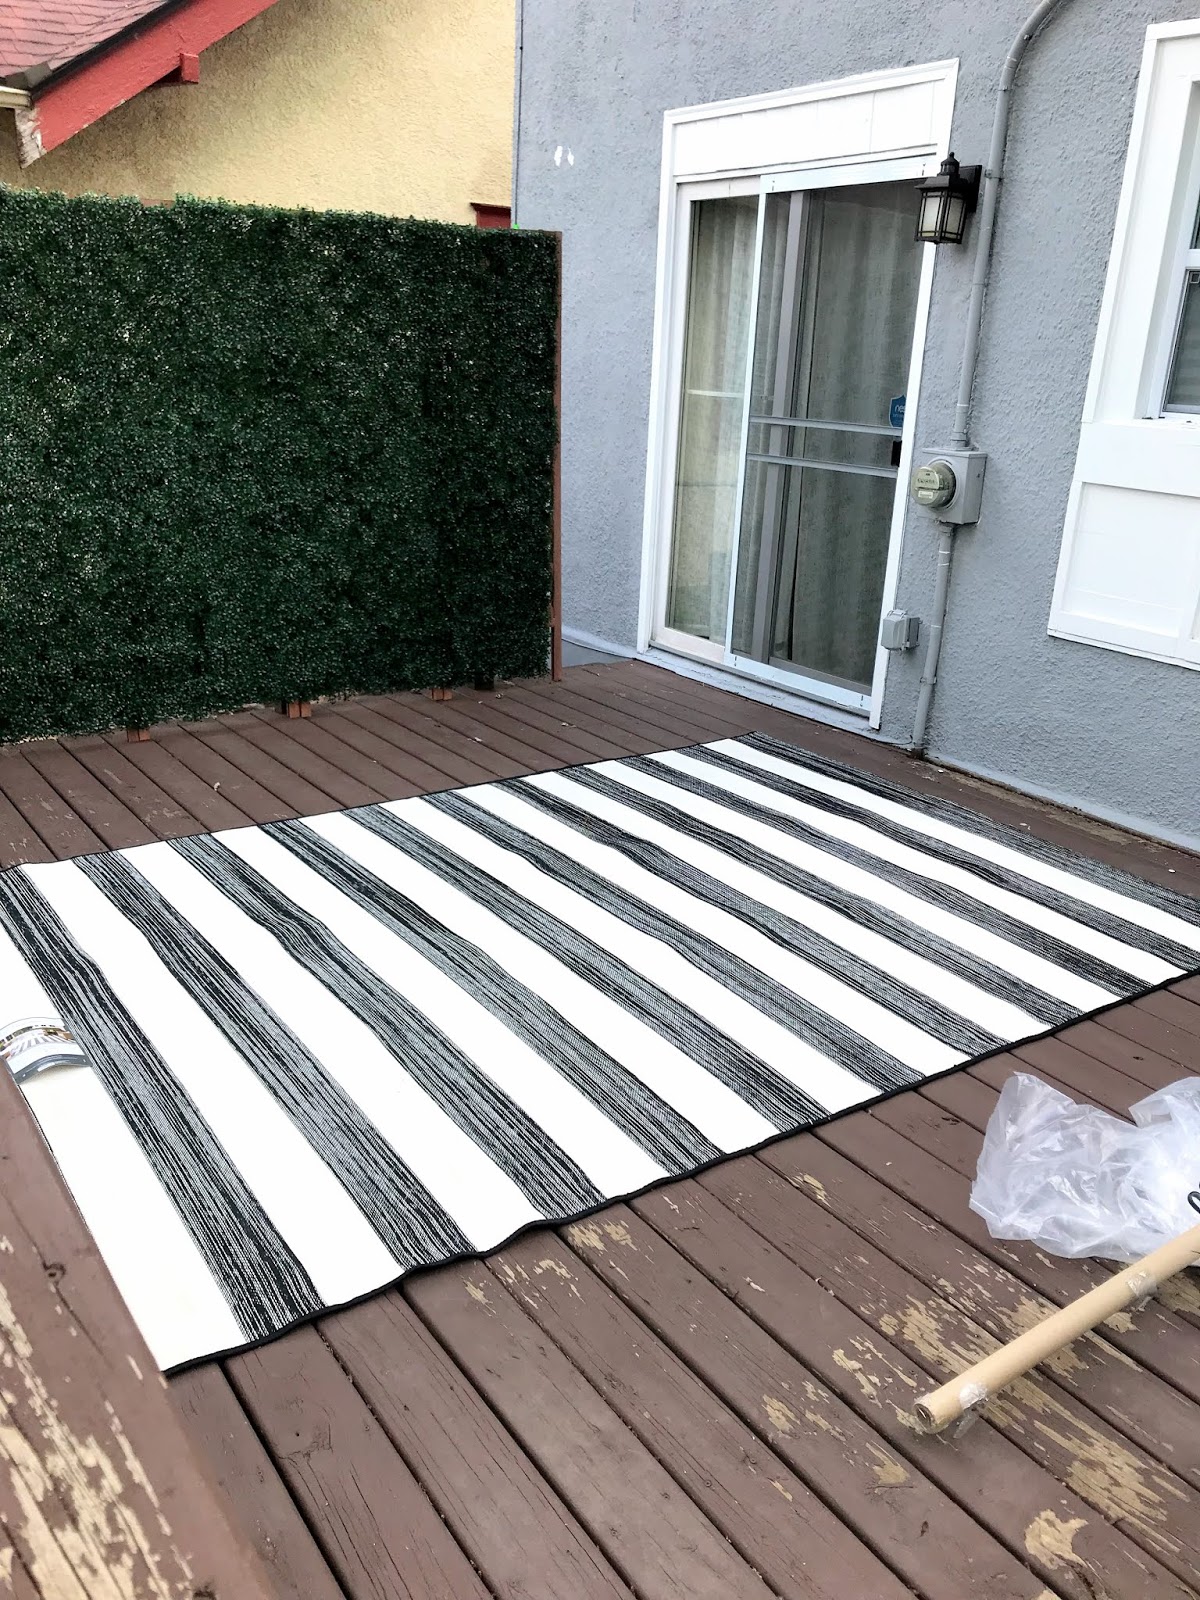
The next step was to get a rug. I was between doing a blue and white or black and white color scheme and ultimately decided to do black and white since I'm definitely feeling the neutrals right now. I used pins like this, this, this and this as my inspiration. I realize that getting a partially white outdoor rug isn't the smartest move but it was relatively inexpensive so if we only get 1 or two years out of it I won't be devastated. This is the rug we got and it's currently out of stock but this one is very similar.
black-and-white-deck-inspiration
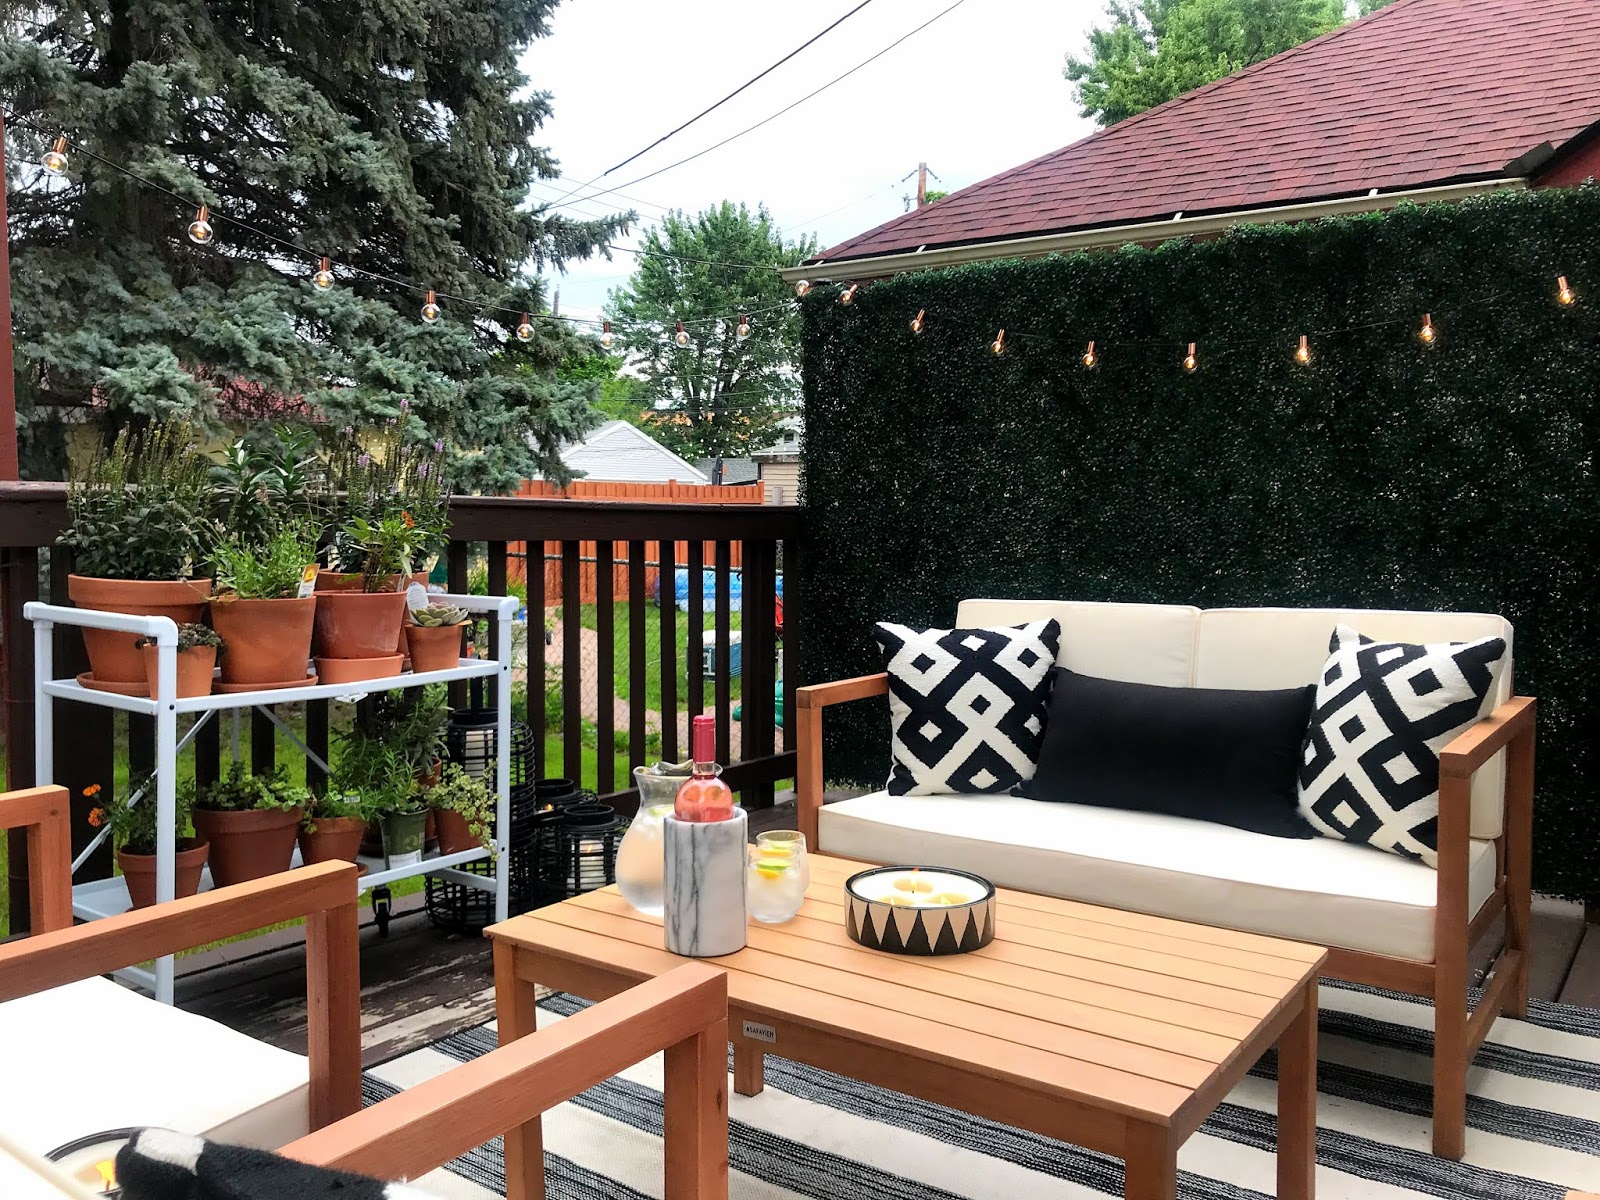
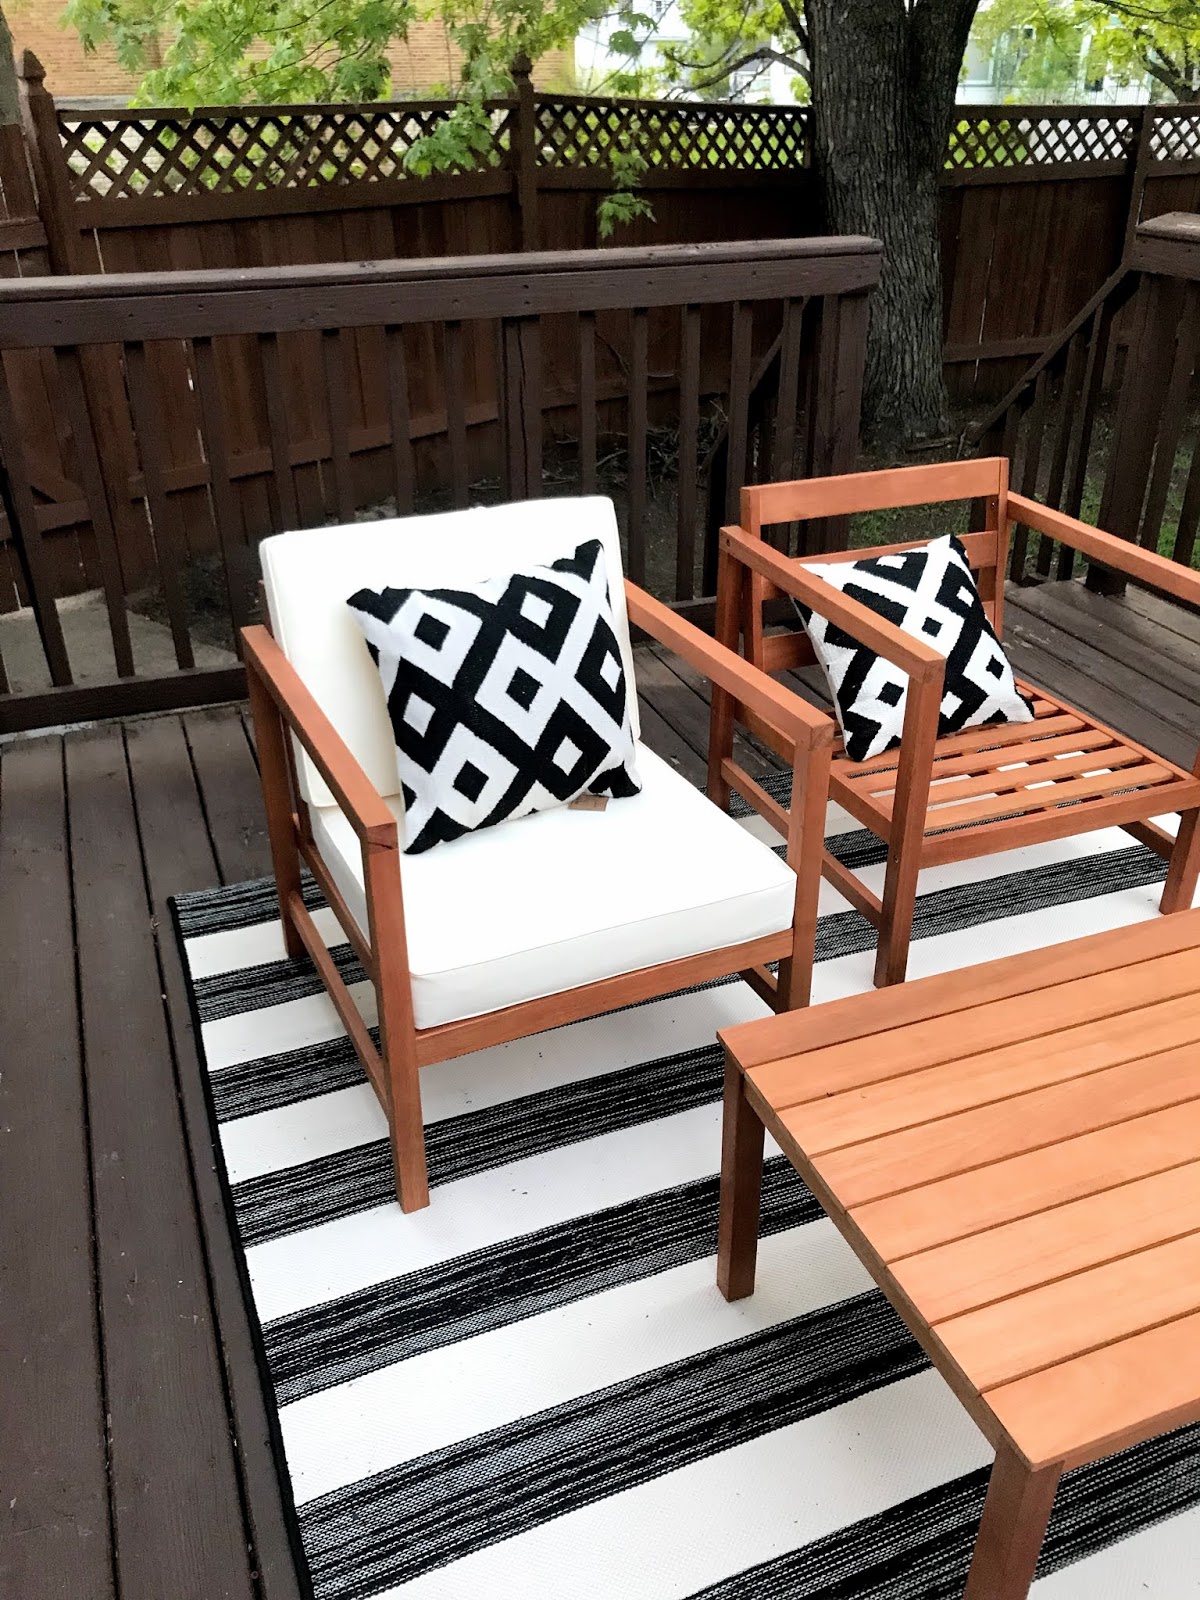
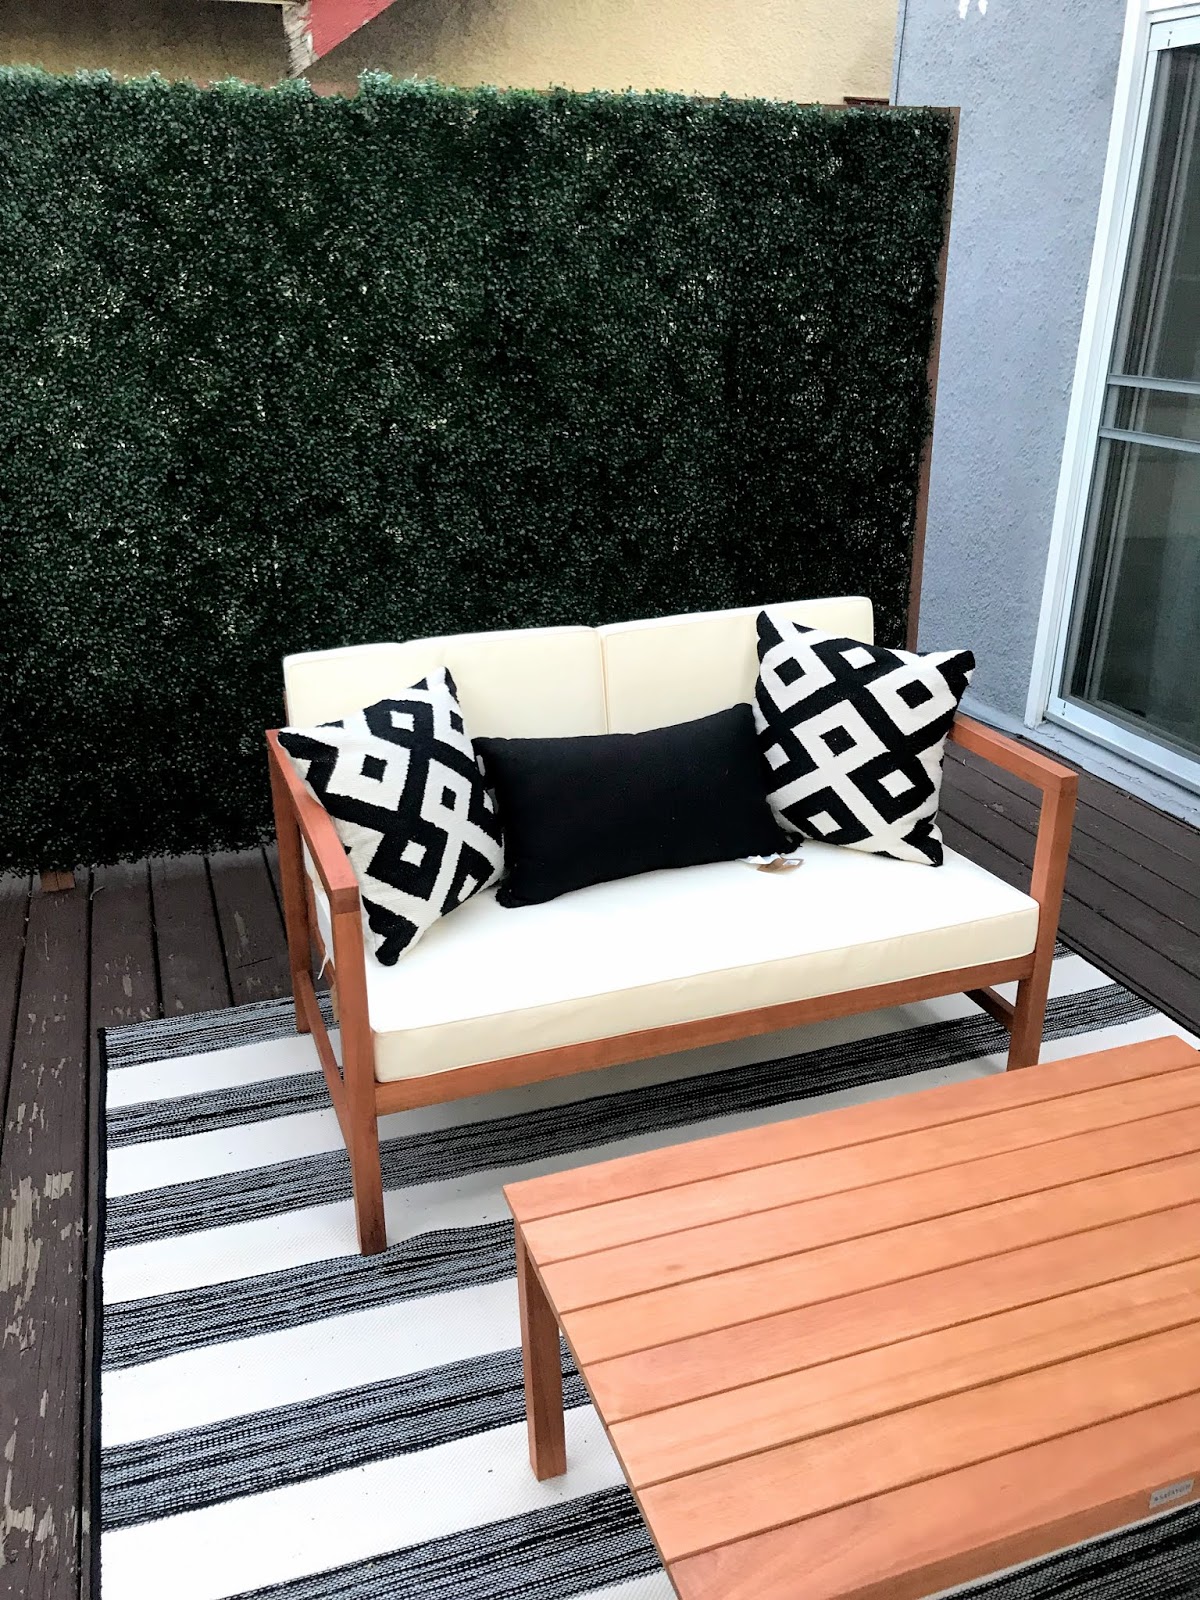
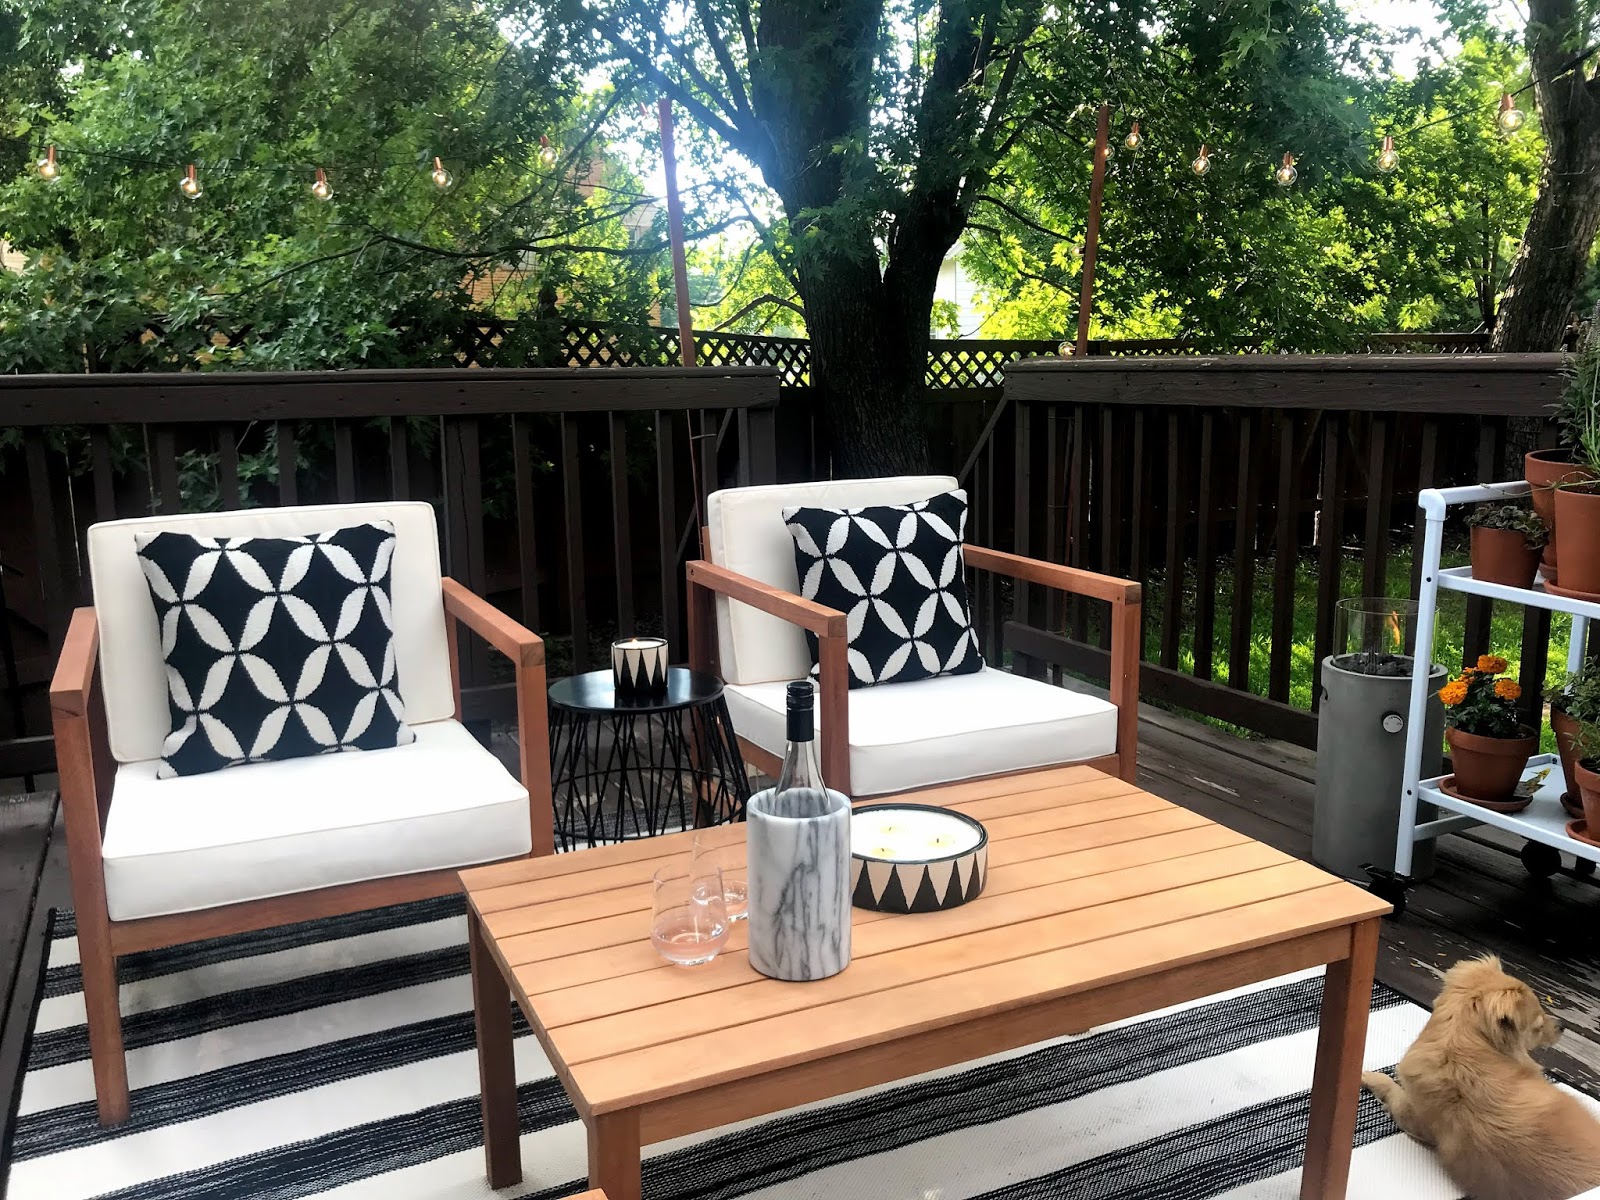
Next up was picking out a furniture set. We were able to snag this one when it was on sale and have been very happy with it so far. 
black-and-white-deck-inspiration
Next was the lights! I went with these ones. I stole the idea from my friends to get some pieces of wood, spray paint them and zip tie them to the deck to hang the lights from. I tried hanging them with command strips and found out the hard way that that wouldn't work so then we stapled them and they've stayed put. I don't have a great picture but you can see the posts in the one below. 
black-and-white-deck-inspiration
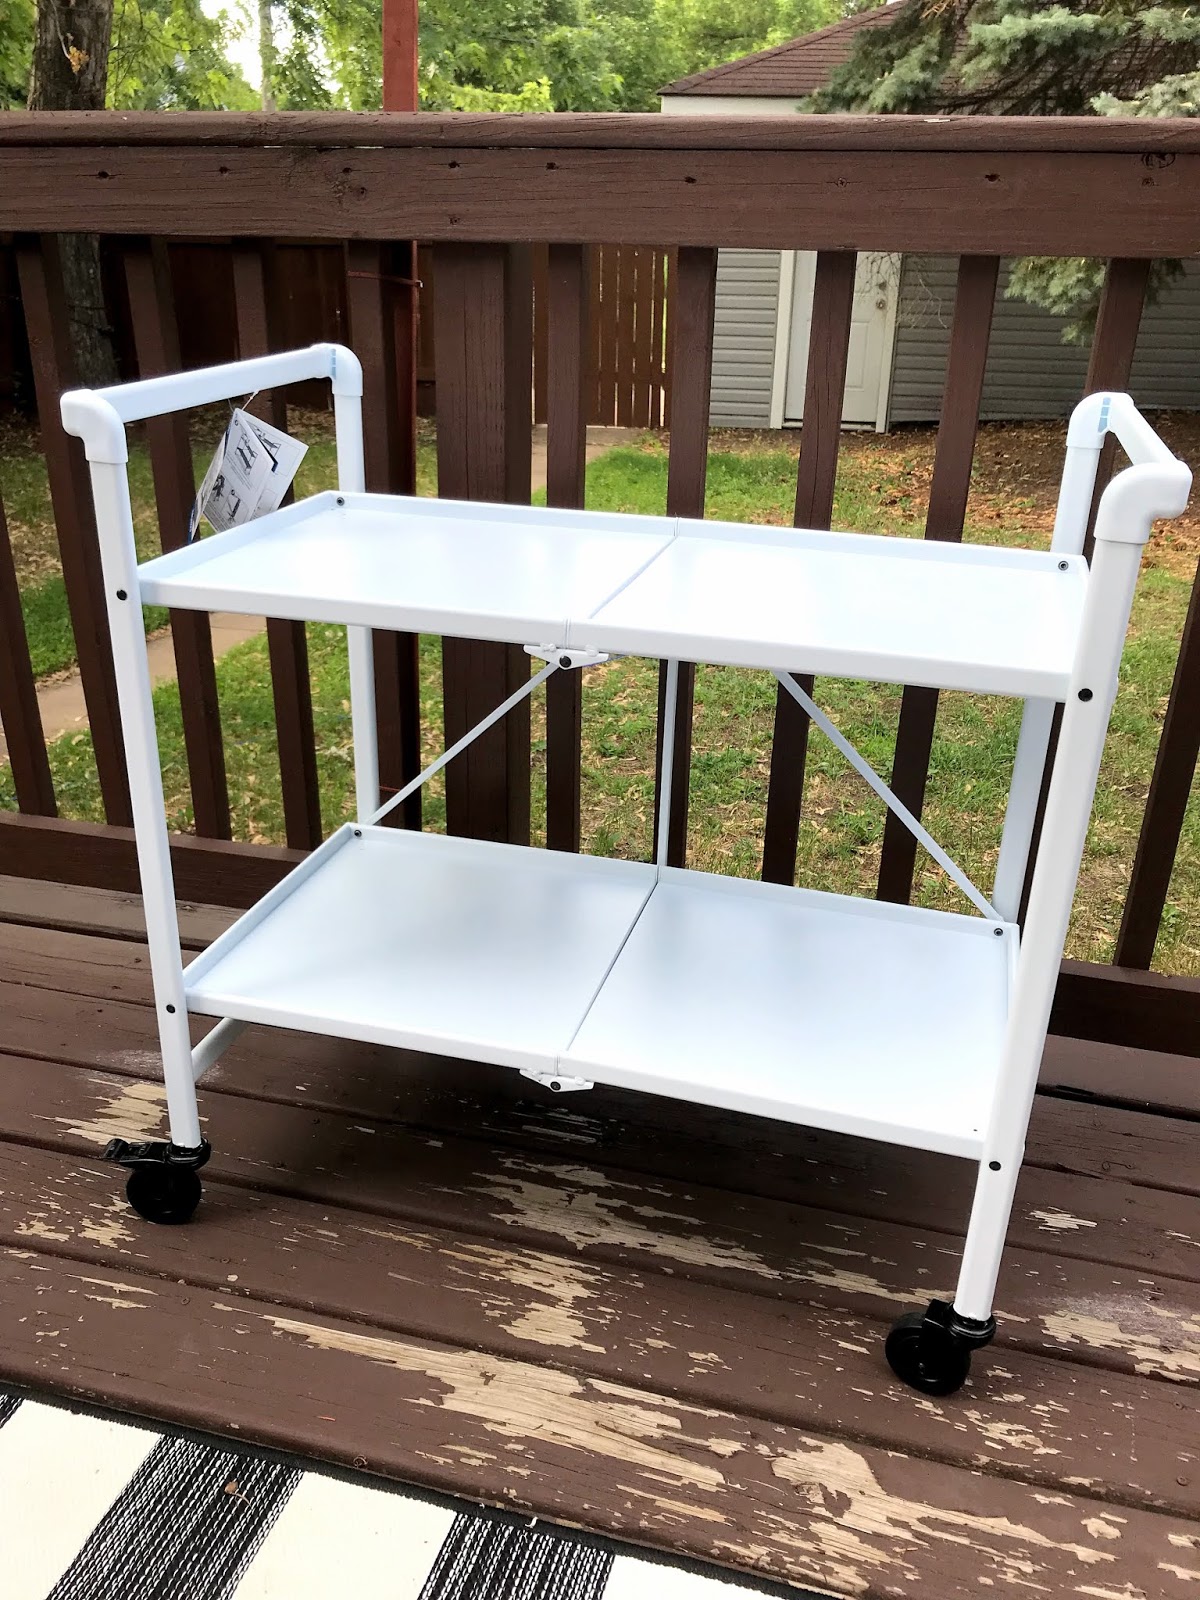
My sister-in-law got me this fun outdoor cart and I decided to turn it into a plant stand. Unfortunately half the plants are already looking pretty sad but I wanted to add some greenery and color to the space. 
black-and-white-deck-inspiration
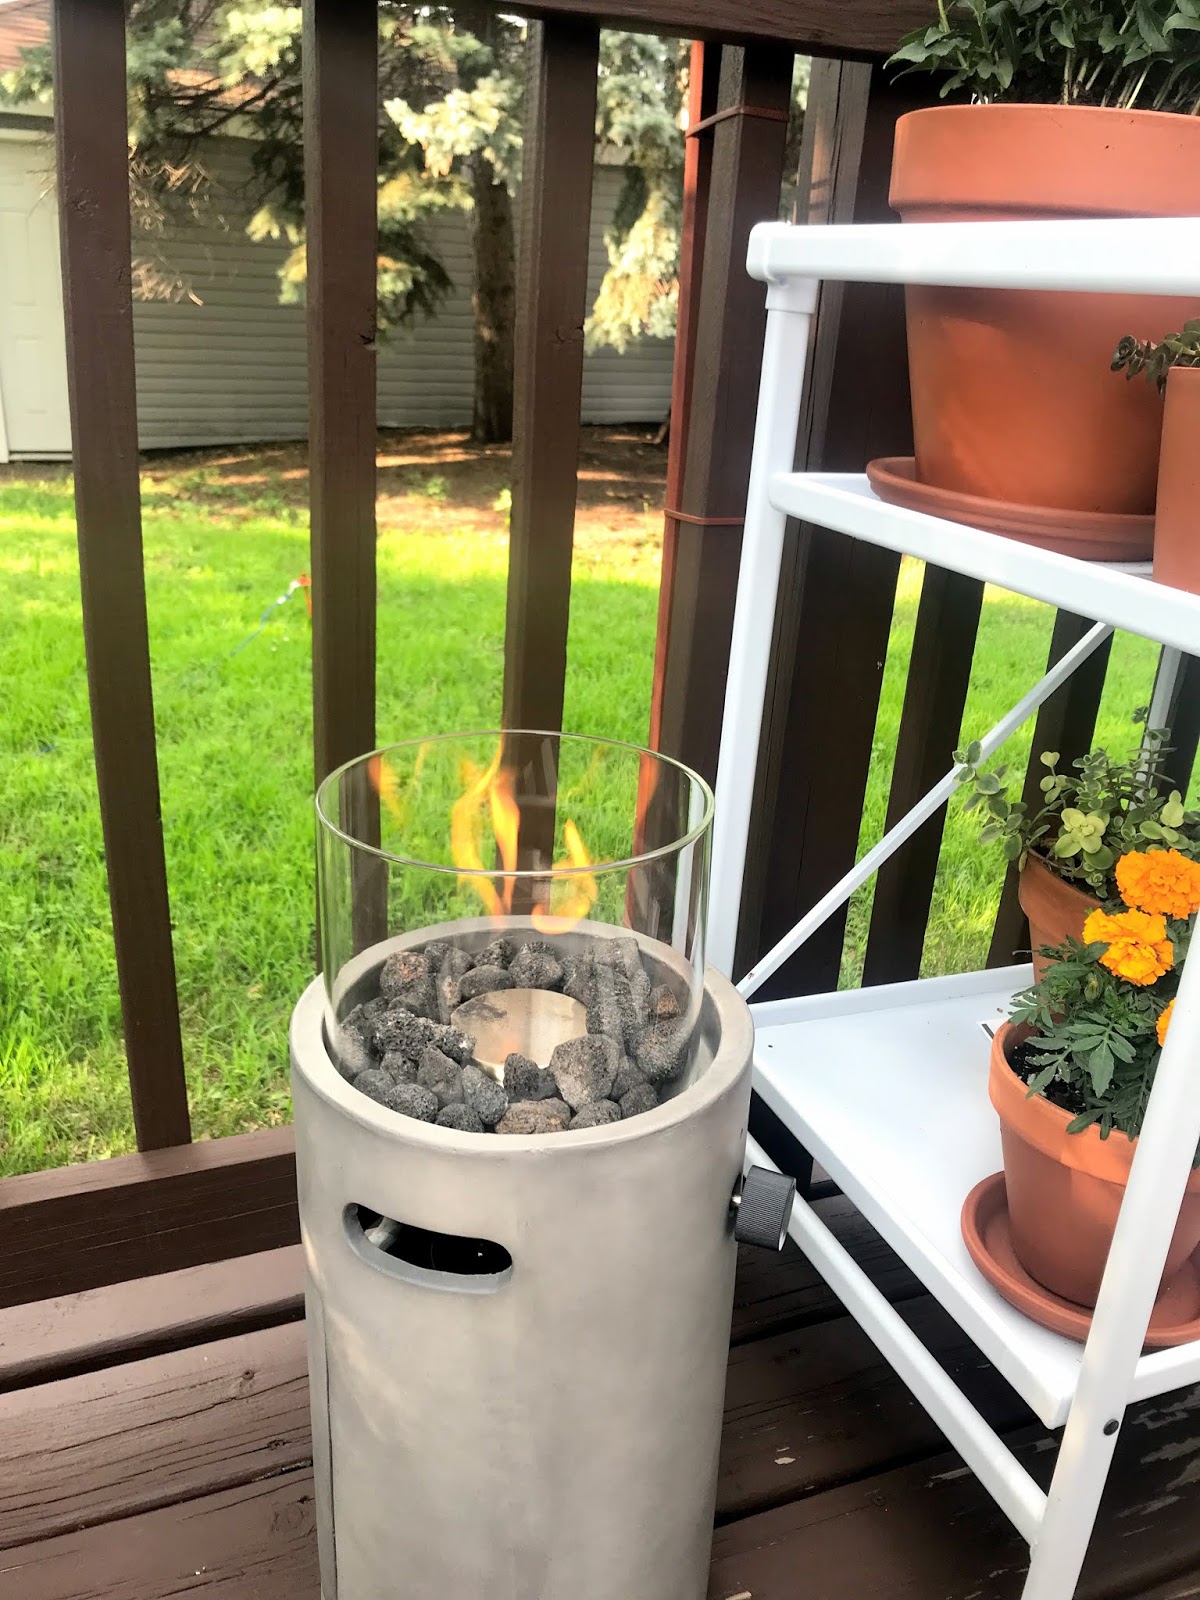
The finishing touches were this geometric table (similar), a portable fire pit, citronella candles and lanterns.
black-and-white-deck-inspiration
Well there you have it! I'm so happy with how it turned out and we've already gotten a ton of use out of the space having friends over and even watching Twins games out on the deck. You can find me here until the first snowfall!

xo Catherine 

House Progress (Living Room + Dining Room + Bedroom)

April 15, 2019

interior-design-inspiration
This post is a long time coming — seven months to be precise. I've been meaning to share photos of our house progress from the beginning but here we are seven months after we moved in and I'm only now sharing these. I'll caveat this by saying that these are very much progress photos and the house is not done. I kept wanting to wait until everything was perfect to share more photos but I think that progress photos are fun too. Hopefully sharing here will help me get my butt in gear to keep putting the finishing touches on! Today I'm sharing before and afters of the living, dining and bedroom. I'll do the kitchen and bathroom another time but those transformations aren't quite as dramatic. 

So. These photos are a mix of iPhone snaps and DSLR photos that I've taken over the last seven months. Most of the DSLR photos were taken yesterday so they're the most up to date. I did tidy up to take those photos but I really didn't do much more than that so you may notice stray cords, empty frames, etc. Settle in for lots of photos of where we started, where we are now and what finishing touches I still hope to make!
before-and-afer-home
I think I've said this before but our house is a rental. You'll probably think we're nuts to have made updates to it since we don't own but I love this stuff and really wanted to put work into the space to make it ours. So the first step was to paint the living/dining area white. The whole house was painted a pale grey but the living and dining area don't have the best light so I wanted it to be white so it would look as bright as possible. 

Dining Room

before-and-afer-dining-room
We also swapped out a couple of light fixtures, including the chandelier in the dining area. Mark and his dad are the best and did it themselves. We plan to just swap them back to the original fixtures when we move out. 
styled-shelf
The next step was to install this ladder shelf from CB2. I've mentioned it a million times but Alaina is someone whose design style I really admire. She had this shelf in her last house and I knew that I wanted to get one for this space. It's the perfect home for some of our prettier glassware and we also use it as a makeshift bar.
styled-shelf
dining-room-inspiration

In addition to the chandelier we had to put in a curtain rod because this house didn't come with any window treatments (insert eye-roll emoji here). I would love to get a larger kitchen table and add a rug here since we have the space but other things have taken priority for now. 
before-and-afer-shelf
I played around with the shelf stying for a while and I think I have it where I want it. I might want to get one more baking dish to stack on that 6th shelf but otherwise I love it!

Living Room

before-and-afer-living-room

The living and dining room are one big, open area so we painted the whole thing white. Well, I shouldn't say "big" since our house is tiny but it felt huge once we started painting. Mark was very against painting but I was adamant and told him I'd take care of it since he didn't think we should do it. I thought it would take me a day since the area is relatively small but good lord it was a nightmare. Remind me never to paint again. It took an entire weekend (as in three days) and Mark ended up helping a lot after I had a meltdown or two. He's the best.
living-room-design-inspiration
before-and-afer-bookshelf
You guys, this bookshelf has been the bane of my existence. I was so excited to have this cute little built-in to style but I cannot for the life of me get it to a place I like. I've rearranged a million times and still don't love it. I just want to finish it and be done!
styled-bookshelf
styled-bookshelf
before-and-afer-living-room
Couch

I've been wanting to make a few updates to the living area to warm it up a bit. After having these plaid pillows out for Christmas I realized how much I loved the look of some color or even a pattern on the couch. I've been on the hunt for the perfect pillows ever since. We also really want to get an ottoman coffee table to make this little area cozier and better for movie-watching. There's too much white going on right now so I'd love to get a cognac leather ottoman or something like that to warm it up!
living-room-inspo
living-room-interior
In an ideal world we'd mount the TV but I doubt if that's ever going to happen. Just imagine it's mounted ;) 
living-room-inspiration
reading-nook

So this little nook is actually in the front room which is technically a bedroom. It's a joke of a bedroom so we use it for storage and have this little chair in there that Louie likes to perch on and bark at people as they walk by 😅

Bedroom


bedroom-inspo

Our bedroom is a special little snowflake in that there is no room to put a queen sized bed without blocking a window or having the bed up against a wall. We chose the blocking a window option. I know it would look better without a headboard but we like having one so it is what it is. The other eyesore in this room are those mismatched black shades you probably noticed. You also may have noticed that a lot of our windows have paper blinds. We got them when we moved in since the house felt like a fishbowl without any window treatments. Here we are seven months later with a ton of paper blinds still up because, well, window treatments are expensive. We've only put in a few permanent treatments and the rest are still paper. I plan to eventually replace the black shade here with this white one that will hopefully look less weird. 
before-and-afer-bedroom
styled-nightstand
before-and-afer-nightstand
before-and-after-dresser
I am obsessed with this dresser. I mentioned it before but I just wasn't finding anything online that I liked so I turned to craigslist and found a woman who had refinished this old dresser in black to give it some new life. I never thought I'd be this into a dresser but here we are. 
styled-dresser

I think the finishing touch here would be to group the items on the left in a tray like this one and then it'll be good to go! 
styled-dresser

Still a ways to go but I'm really happy with the progress we've made and am excited to keep chipping away at it! Hope you enjoyed seeing the progress!

xo Catherine 

Latest Instagrams

© Catherine Day Dreams. Design by FCD.