I have to start off by saying that I am not a crafty person and I would not call our wedding a "DIY Wedding" and this isn't a how to post (LOL lot's of disclaimers), but we did do a few of the things ourselves that I wanted to share. Okay...well I didn't do all of them. Okay...so this post is mostly just to brag about how awesome and talented my sister Ellen is. Read on to see what my sister we DIY'd!
Mirror Signs

I had seen this as an idea in a bridal magazine and absolutely loved it. I hadn't seen anything I was liking and that matched up with our aesthetic until then. Pretty much everything I was seeing was very rustic like chalkboards or wooden signs. Enter the gilded mirror. Such an easy DIY and I actually was the most involved in this one! The mirror pictured above was our welcome sign we had at the church and then moved it to the reception to welcome people and let them know they were in the right place. This is what the above mirror originally looked like:

Someone had painted it this dull grey color. I had asked my mom to be on the lookout for gold mirrors that we could use and she went above and beyond going to secondhand stores and sending me pictures of options. She found this one and sent me a pic. I loved the ornate detailing and told her to buy it. When I was home a while later we picked up some gold spray paint and just went to town. The hardest part was just taping and covering those rounded edges. This mirror probably cost us around $40 total.

The finishing touches we outsourced to our florist and stationer. Our wedding planner and her best friend own a stationary business called The Making 89 and they are just phenomenal and did all of our stationary. The very talented Britinee from The Making 89 did the lettering for both the welcome sign and the photo guestbook instruction sign. Then our florist Grace Klein Design did the pretty floral swag for the welcome mirror.

Unfortunately, we didn't get any great pictures of the photo guestbook mirror sign. It's pictured above from far away so you can't read it. We had step by step instructions listed out for taking an Instax photo and putting it into the guestbook along with illustrations.
Bridesmaids Belts

This DIY was born out of not being able to find any belts I liked that weren't $60+. When I went with a couple of my bridesmaids to look for their dresses they had some gorgeous Jenny Yoo belts that I fell in love with. They looked so chic with the dresses we picked but were too expensive for a belt. I tried looking for something similar on Etsy and other online shops and just wasn't finding anything. Enter my sister who stepped up and said she could probably make us belts. All we needed were some crystals and ribbon. Sounded easy enough!
I bought some ribbon off of Mood Fabrics' website because literally no stores we went to had any velvet ribbon in any color. I wanted velvet 1. because it looks expensive and 2. in the hopes that it would stay up better compared to something silky. We had to order a couple different ribbons because we didn't know what width would look best and ended up using this one from Amazon. The harder part was finding the crystals. Everything we were seeing looked so cheap and costumey. Then my sister had the brilliant idea of buying earrings and taking them apart. We found these at Joann Fabrics and Ellen cut the post off and took them apart. She played around with some arrangements and we settled on the below design.

Ellen then hot glued the crystal design in place and put in a few stitches to really hold them in place. Then she sewed a little velcro on the ends of each girl's belt to fasten them. They turned out so well and looked very similar to the Jenny Yoo ones. They ended up costing ~$20 per person and would have been less if we hadn't had to order different ribbons to get the right width. I'd say that was a success compared to the $60 ones I originally wanted.

The Veil

The veil totally stole the show (and photos) and everyone was so impressed to learn my sister had made it! Similarly to the belts we (Ellen) took on the task of making my veil because they're crazy expensive. I tried on a simple one when I picked out my dress (see that saga here) that I really liked but it was $200+ dollars. While I had it on we were talking about how outrageously expensive that was for a comb attached to a piece of tulle. Ellen looked at the veil and pretty much said "Yeah, I could make that." And so she did!

My poor sister ended up having to make two different veils for me though🙈. I originally thought I wanted something softer than tulle because I thought it would go better with the organza skirt on my dress. We ended up using something similar to English net and unfortunately found out that it was way too heavy after she'd already made it. I was trying on Veil 1.0 on and walking around and it kept falling out even when it was secured with bobby pins. We decided we needed to switch to tulle for more volume and because it was lighter.

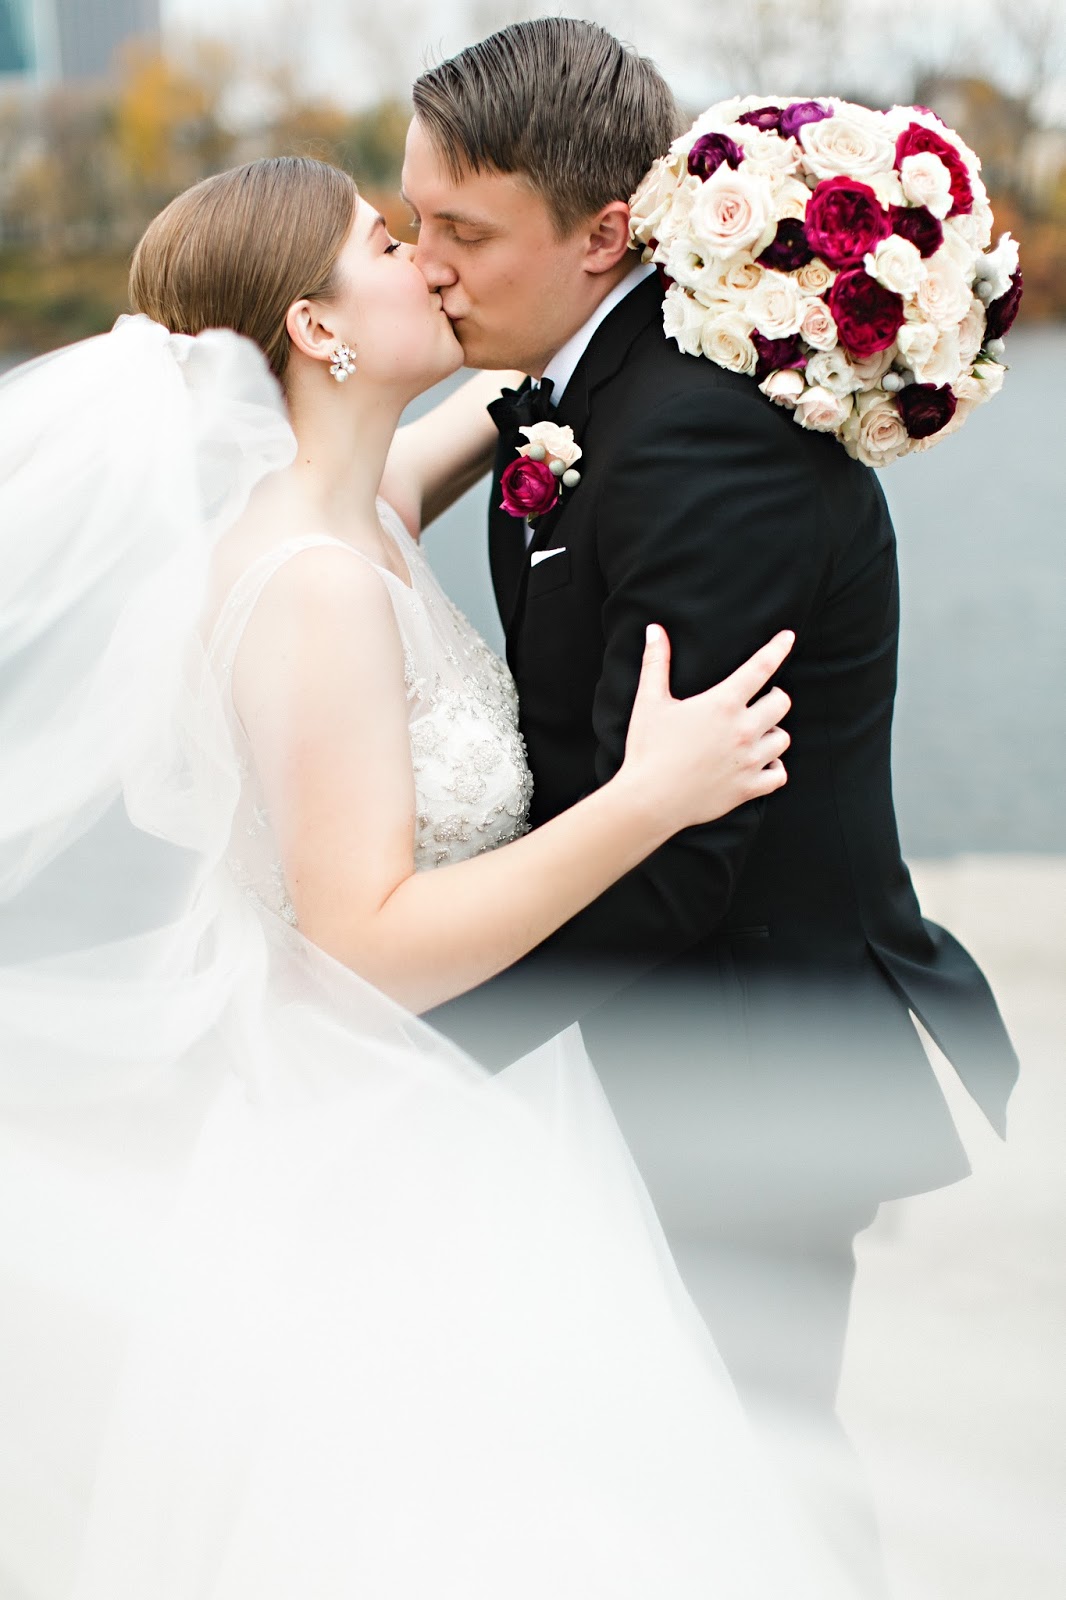
The struggle then became finding the right color tulle. I had a teeny tiny swatch of fabric from my dress to take with me and it was not all that helpful in the florescent-lit fabric stores. We bought one tulle and in the light of day it did not match at all so we had to go back for round two. I felt so bad dragging my sister around to several different stores less than a week before the wedding. We finally found the tulle and she was able to make an absolutely stunning Veil 2.0. I ended up loving the volume of the tulle much better than the original English net. It also stayed spread out better around my train because it's more structured. Some of my absolute favorite photos were with the veil floating around all ethereal-like. Our photographer Gina was a master at using the veil for all sorts of dreamy shots like the first photo in this post. All of these pictures are by her other than the before belt and mirror shots.

So there you have it! #muchcrafty. I kid! I played a very small role in these projects. I'm more of a visionary when it comes to crafts but have no skill in the execution department. Thankfully, I had a wonderful maid of honor, planner, stationers, photographer and florist that helped bring these little details to life. These are the details and stories that I'll remember forever. We had a couple of other creations that weren't really DIYs and more like the professionals creating magic and bringing my visions to life like our floral back drop for our guestbook. I'll save those for another post though!
Thanks for reading and have a wonderful long weekend!
xo Catherine


Post a Comment